Tutorial: Simple Boxy Shopping Bag
Tutorial: Simple Boxy Shopping Bag
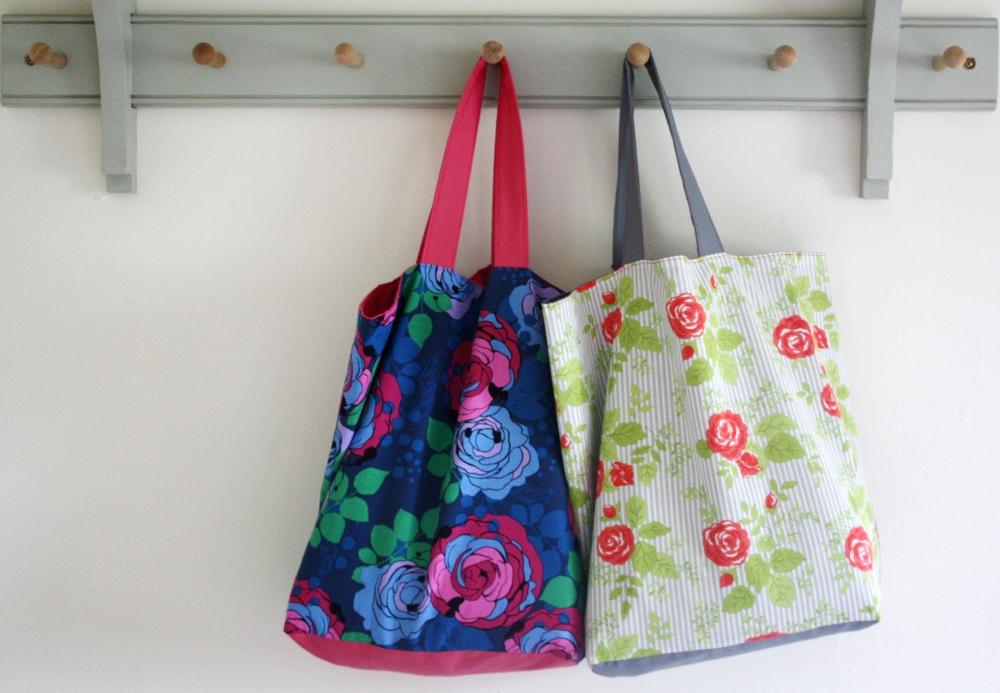
 Personally, I have a number of these and I don't just use them for shopping. I use one to keep my knitting in, I use one to carry my swim kit, I use one as a day bag... you get the picture.
 So here is the pattern. You can either read it from this blog post, or download a pdf of the instructions here. If you make the bag, I would love to know. You could even add your pics to the Backstitch Flickr pool.
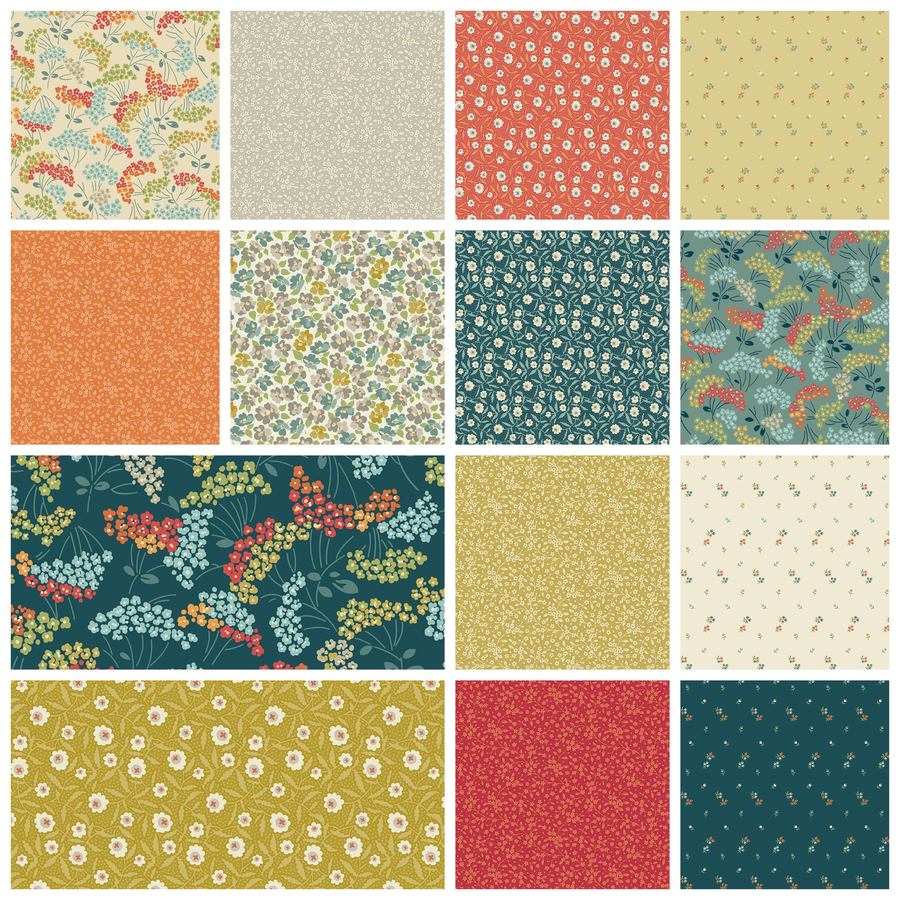
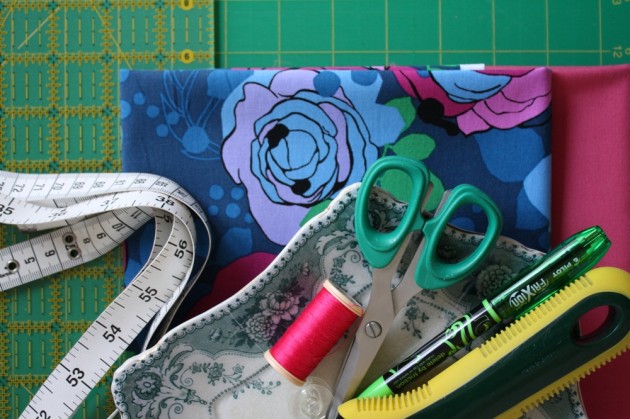
I made my bags using Roses: Garden with Klona Blush Pink, and Bloom: Grey with Klona Grey.
 SIMPLE BOXY SHOPPING BAG TUTORIAL
Materials
0.5m Klona Cotton for lining, base and handles
0.5m Printed cotton for outer
 Thread: matching or contrasting
Tools
Sewing machine
Iron and board
Cutting mat, ruler, and rotary cutter (optional)
Scissors
Fabric pen
Tape measure
Seam allowance: 3/8 inch unless otherwise stated
Stitch length: 2.4 unless otherwise stated
Instructions
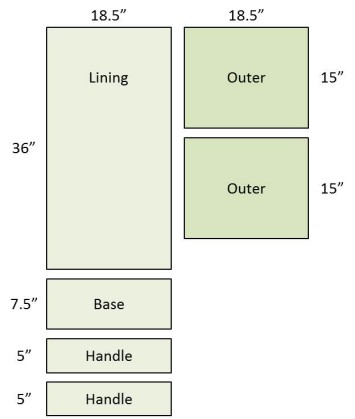
1. Cut your plain fabric: Use cutting guide for measurements. I use my rotary cutter and mat to cut the 0.5m of Klona down to 18.5” wide, then cut each piece off from this, starting with the large lining piece and ending with the two handle pieces. Make sure you are easy on trimming the selvedges as 0.5m is only just enough! If you cut the lining and base to size first then if you don’t have quite 10” left for the handles, they can both be slightly smaller as long as each handle piece is the same width.
2. Cut your printed fabric: Use cutting guide for measurements. Make sure that directional prints are the same way as the writing in the cutting diagram.
3. Iron your bag handles: Take one handle piece, fold and iron in half down the length of the fabric. Then open out and fold each side into the ironed crease, on the inside. Iron. Your raw edges should be neatly hidden inside the folded strap. Repeat with other strap.
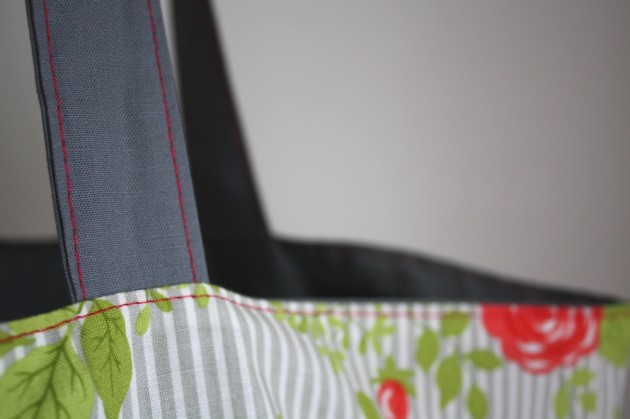
4. Sew your bag handles: Set your machine to a stitch length of 3.5 and topstitch about 1/8 of an inch away from the edge down each long side of the handle. Sew the centre fold side first to minimise distortion. Repeat with second handle. Put handles to one side.
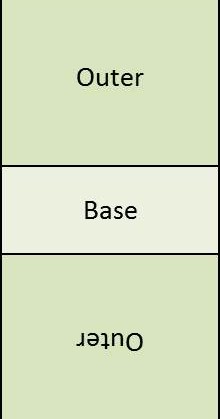 5. Sew bag outer: part 1: Set your stitch length back to 2.4. With right sides together sew the two outer pieces to the base piece as per the diagram. Make sure that if you are using a directional print for the outer pieces that the base is sewn to the bottom of the outer. The two outer pieces will be going in opposite directions (see diagram). Press your seams open.
6. Sew bag outer: part 2: With right sides together fold the complete outer piece in half so that the fold runs down the centre of the base piece. Make sure that the seams where the base piece meets the outer piece line up on each side. Do not worry too much if the top corners of the two printed fabrics seem to come in at different lengths, you will not see this in the finished bag. Press the fold and pin the sides.
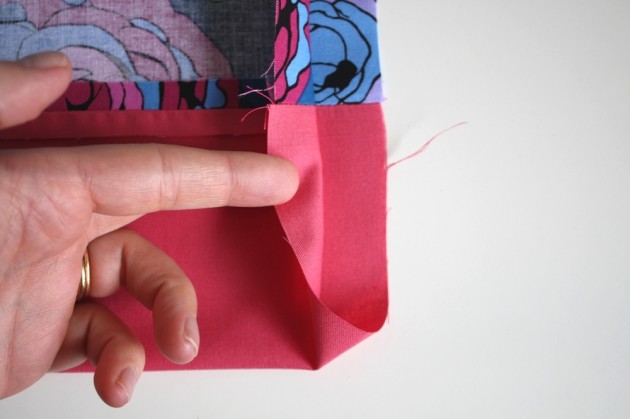 7. Sew bag outer: part 3: Starting from the folded edge, sew a straight stitch down to the corner of the bag. Repeat for other side. You should now have a large pocket. As much as you can, press seams open.
8. Sew bag lining: Repeat the folding and stitching process just used for the outer piece for the lining piece. Fold in half. Press and pin. Stitch down two opposite sides. Press seams open.
9. Measure and mark your boxy corners: Here’s the tricky to explain bit! What we want to achieve is shape and depth to your ‘pockets’. At the moment both outer and lining pockets lie flat and square on your table. We want to make them into boxy buckets. Each bottom corner needs to be puffed out, and re-sewn on a 90 degree axis.
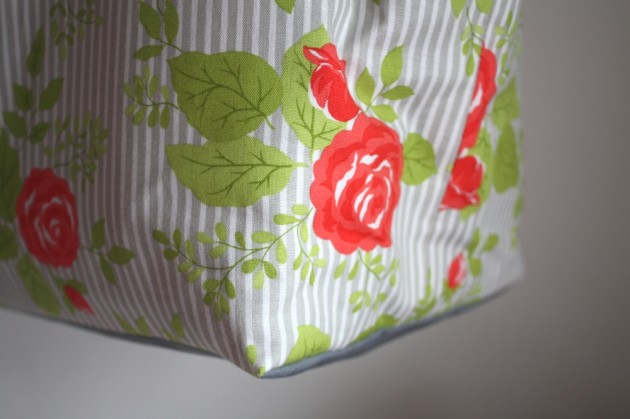
Starting with the outer pocket put your hand into the bag and head for one corner. Open this corner out, creating a triangle, so that the side seam, rather than being on the edge, is now lying flat against the base centre crease – make sure the crease and the seam match up. Now press and pin this triangular corner. You will be sewing across this corner using the line where the base meets the outer fabric as your guide. Repeat for the opposite corner.
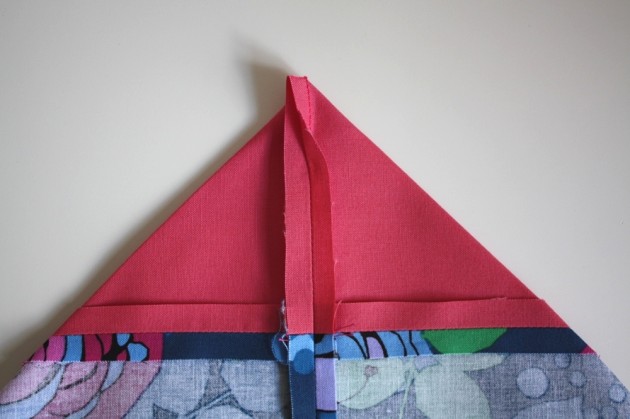 Now take your tape and measure the distance from the point of your corner to the sewing line, where the base fabric meets the patterned fabric. This should be about 3.5”. You will use this measurement to make matching boxy corners on your lining pocket.
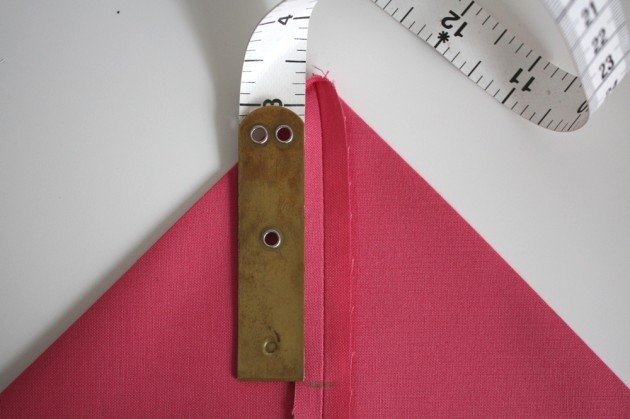 Take your lining pocket and use the same technique of putting one hand in the bag and heading for a corner to make your pivoted triangles. Make sure the side seam is lined up with the base centre crease and then press. Now mark your sewing line by measuring from the point of the triangle, up the seam to the figure you measured from your outer corners, approx. 3.5”. Mark a sewing line at 90 degrees from this point... Make sure it’s straight! Repeat for opposite corner.
10. Sew your boxy corners: Straight stitch along your four marked corners. Back stitch at the beginning and end of your sewing line to secure. Trim the triangle of excess off these corners to reduce bulk.
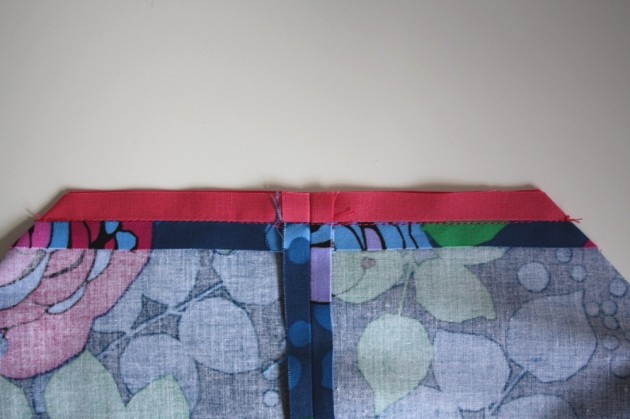 11. Sandwich your pockets: Turn your bag outer inside out, so that it is the right way round. Take a moment to hold it up and admire your work so far! Put the outer pocket right inside your lining pocket so that the boxed bottoms are sitting inside each other at the bottom and the tops of the bag are levelish at the top. At the top of the bag match up the side seams. There is likely to be some discrepancy in this top edge – don’t worry, you can sew with a seam allowance big enough to even this out.
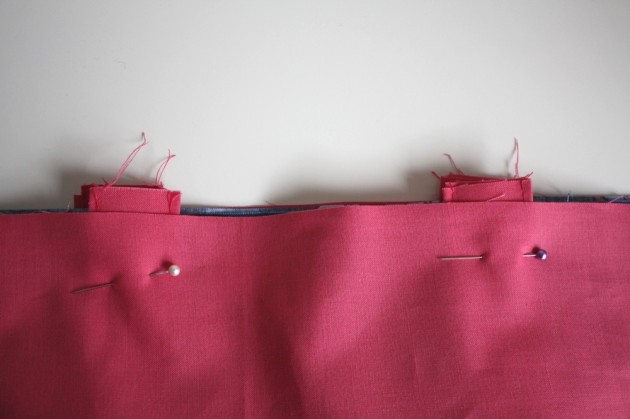 12. Pin your handles in: Lay your bag sandwich so that the top is nice and flat. Measure the width at the top and mark the central point. From this central point make two marks, each 2¾” away along the top of the bag in opposite directions, these points are where you will place your handles. Now pin your handles inside your bag sandwich between the outer layer and the lining layer, one handle on each side. The loop of the handles should now be hidden and there should be just a small stump from each handle end peeping over the rim of the bucket.
13. Sew the top leaving a turning hole: With a straight stitch, sew most the way around the top of the bag. Use a generous seam allowance in order to catch the top all the way around. Start sewing just before the start of one set of handles and stop sewing to leave a four inch opening.
14. Turn you bag: pull the bag through the hole in the opening. Pop the lining inside the outer and give it a good shake out. Press the seam at the top to give a nice finish.
15. Topstitch top of bag: now set your stitch to 3.5 again and topstitch all the way around the top of the bag with a 1/8 inch seam allowance. Make sure you catch the turning opening and neatly sew this closed at with the top stitch. Back stitch to secure.
16. Ta Da! Now go shopping!
